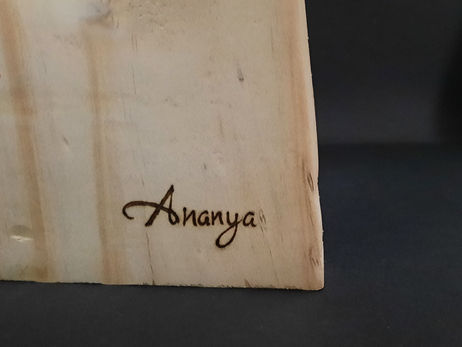
Gupta Ananya
Pyrography
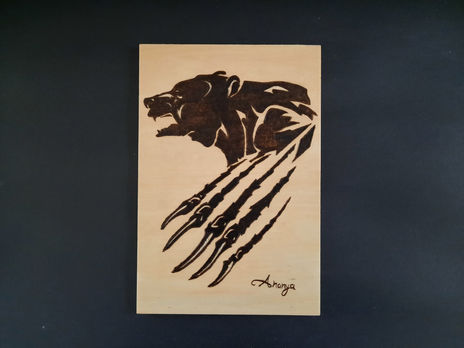
Pyrography is the free-handed art of decorating wood or other materials with burn marks resulting from the controlled application of a heated object.
This collection includes some of the works I had done as a hobby. Enjoy and feel free to read about my process behind this art!

My Pyrography Process

Step 1 is selecting the design. Most of my designs are inspired by posts on Pinterest and photos of sceneries or objects I saw on Google.

Step 2 is selecting the wood. I usually use pinewood, plywood and basswood as the colour is ligher thererfore it gives a better contrast between the wood and the burn. I also like using upcycled wood that has natural wood defects like wood knots and pink/blue stains as it can make a lovely background for pyrography.

Step 3 is to prepare the wood. I will sand the wood up to 400 grits. This ensures I have a smooth surface to work with as uneven surfaces make it difficult to burn a straight line.

Step 4 is to transfer the design on the wood. I will usually print out my image and trace using a graphite paper and embossing tool.

Finally step 5 is to start the woodburning art. I use the Soundtech woodburning tool. It is a solid point burner and has only one temperature setting. It has about 8 classic tips made out of brass. All the tips serve different purposes which has been illustrated in this post by Burn Savvy. I usually use the flow point, shading and tapered point in my work

Step 6 is to add details to your art. I like to create effects by applying different amounts of pressure and changing the speed of my motion. I can create more effect by changing the movement (eg. linear or circular motion) and size of the stroke to make more textures. I also use the Culiau engraving pen to clean small over-burn areas and to do highlights

The last step is to apply a finishing. I apply one to two coats of mineral oil. This helps to protect the wood surface and burns from dirt and moisture. It also helps to highlight the colour of the wood grain and enhances the contrast between the burn and the wood, which looks very beautiful in the end
That’s all for this category! Revisit the latest project: CAD & Renders or return to Main Menu for more.


